

2 mins read
|
04-30-2026
Magento 2 API: Create an Invoice
Vinh Jacker | 03-17-2025
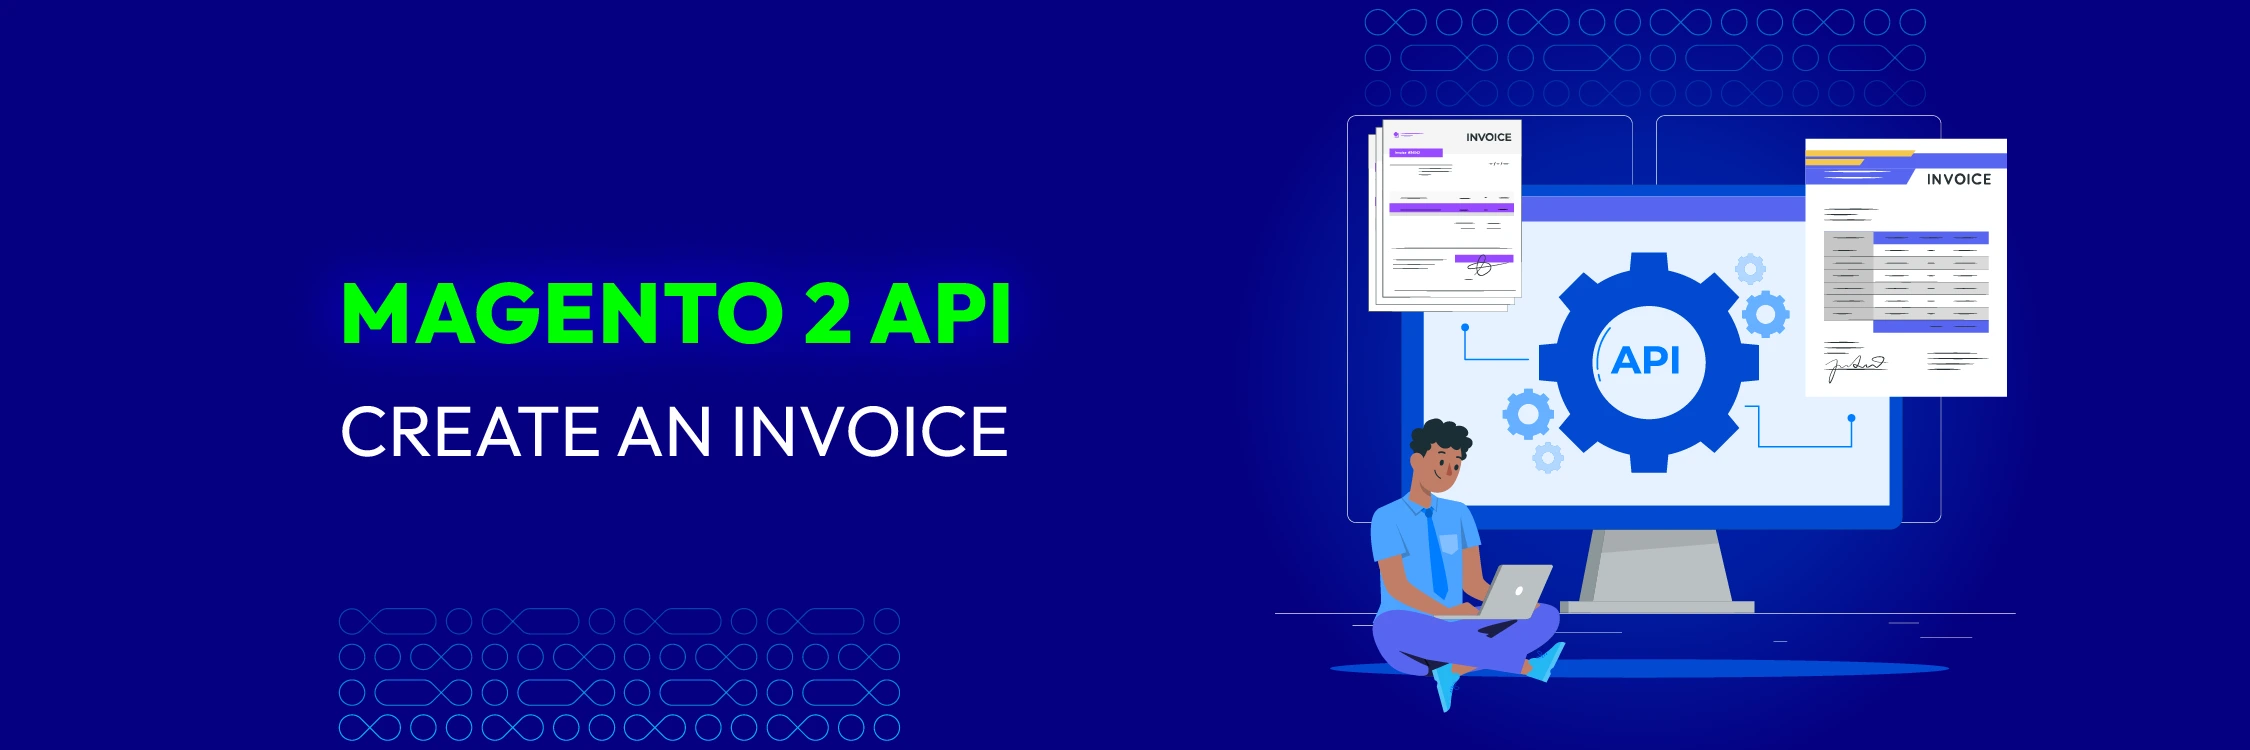
Creating an invoice via Magento 2 API is a crucial step in automating order processing and ensuring smooth transactions for your eCommerce store. With Magento’s REST API, you can efficiently generate invoices, reducing manual efforts and improving order management.
In this guide, we’ll cover how to create an invoice using Magento 2 API, automate invoice generation, and answer common FAQs.
How to Create an Invoice in 3 Steps Using Magento 2 API
Magento 2 allows you to create invoices programmatically using the REST API. Follow these three steps to generate an invoice for an order:
Create an Invoice in 3 steps:
Step 1: Capture payment
By adding an array of items to the payload to be invoiced, you will be able to create a partial invoice.
Endpoint
Here, the orderid is 3
POST <host>/rest/<store_code>/V1/order/3/invoice
Headers
Content-Type application/json
Authorization Bearer <administrator token>
Make sure to include the Admin Token in your headers. If you’re unsure about how to generate an Admin Token, refer to our Get Admin Token Magento 2 API guide.
Payload
{
  "capture": true,
  "notify": true
}
Response
The invoice id, for example, 3.
Step 2: View the invoice
In general, the structure of an invoice is similar to order. The only difference is that the order contains more details.
Endpoint
GET <host>/rest/<store_code>/V1/invoices/3
Headers
Content-Type application/json
Authorization Bearer <administrator token>
Payload
Irrelevant
Response
The order_item_id values will be used to create a shipment in the following step.
Code sample
{
    "base_currency_code": "USD",
    "base_discount_amount": 0,
    "base_grand_total": 165,
    "base_discount_tax_compensation_amount": 0,
    "base_shipping_amount": 5,
    "base_shipping_incl_tax": 5,
    "base_shipping_tax_amount": 0,
    "base_subtotal": 160,
    "base_subtotal_incl_tax": 160,
    "base_tax_amount": 0,
    "base_to_global_rate": 1,
    "base_to_order_rate": 1,
    "billing_address_id": 6,
    "can_void_flag": 0,
    "created_at": "2017-08-21 22:36:02",
    "discount_amount": 0,
    "email_sent": 1,
    "entity_id": 3,
    "global_currency_code": "USD",
    "grand_total": 165,
    "discount_tax_compensation_amount": 0,
    "increment_id": "000000003",
    "order_currency_code": "USD",
    "order_id": 3,
    "shipping_address_id": 5,
    "shipping_amount": 5,
    "shipping_discount_tax_compensation_amount": 0,
    "shipping_incl_tax": 5,
    "shipping_tax_amount": 0,
    "state": 2,
    "store_currency_code": "USD",
    "store_id": 1,
    "store_to_base_rate": 0,
    "store_to_order_rate": 0,
    "subtotal": 160,
    "subtotal_incl_tax": 160,
    "tax_amount": 0,
    "total_qty": 9,
    "updated_at": "2017-08-21 22:36:03",
    "items": [
        {
            "base_discount_tax_compensation_amount": 0,
            "base_price": 22,
            "base_price_incl_tax": 22,
            "base_row_total": 22,
            "base_row_total_incl_tax": 22,
            "base_tax_amount": 0,
            "entity_id": 3,
            "discount_tax_compensation_amount": 0,
            "name": "Radiant Tee-M-Orange",
            "parent_id": 3,
            "price": 22,
            "price_incl_tax": 22,
            "product_id": 1553,
            "row_total": 22,
            "row_total_incl_tax": 22,
            "sku": "WS12-M-Orange",
            "tax_amount": 0,
            "order_item_id": 3,
            "qty": 1
        },
        {
            "base_discount_tax_compensation_amount": 0,
            "base_price": 18,
            "base_price_incl_tax": 18,
            "base_row_total": 18,
            "base_row_total_incl_tax": 18,
            "base_tax_amount": 0,
            "entity_id": 4,
            "discount_tax_compensation_amount": 0,
            "name": "Advanced Pilates & Yoga (Strength)",
            "parent_id": 3,
            "price": 18,
            "price_incl_tax": 18,
            "product_id": 49,
            "row_total": 18,
            "row_total_incl_tax": 18,
            "sku": "240-LV08",
            "tax_amount": 0,
            "order_item_id": 4,
            "qty": 1
        },
        {
            "base_price": 68,
            "base_price_incl_tax": 68,
            "entity_id": 5,
            "name": "Sprite Yoga Companion Kit",
            "parent_id": 3,
            "price": 68,
            "price_incl_tax": 68,
            "product_id": 51,
            "sku": "24-WG080-24-WG084-24-WG088-24-WG082-blue-24-WG086",
            "order_item_id": 5,
            "qty": 1
        },
        {
            "base_discount_tax_compensation_amount": 0,
            "base_price": 27,
            "base_price_incl_tax": 27,
            "base_row_total": 27,
            "base_row_total_incl_tax": 27,
            "base_tax_amount": 0,
            "entity_id": 6,
            "discount_tax_compensation_amount": 0,
            "name": "Sprite Stasis Ball 65 cm",
            "parent_id": 3,
            "price": 27,
            "price_incl_tax": 27,
            "product_id": 29,
            "row_total": 27,
            "row_total_incl_tax": 27,
            "sku": "24-WG082-blue",
            "tax_amount": 0,
            "order_item_id": 6,
            "qty": 1
        },
        {
            "base_discount_tax_compensation_amount": 0,
            "base_price": 5,
            "base_price_incl_tax": 5,
            "base_row_total": 5,
            "base_row_total_incl_tax": 5,
            "base_tax_amount": 0,
            "entity_id": 7,
            "discount_tax_compensation_amount": 0,
            "name": "Sprite Foam Yoga Brick",
            "parent_id": 3,
            "price": 5,
            "price_incl_tax": 5,
            "product_id": 21,
            "row_total": 5,
            "row_total_incl_tax": 5,
            "sku": "24-WG084",
            "tax_amount": 0,
            "order_item_id": 7,
            "qty": 1
        },
        {
            "base_discount_tax_compensation_amount": 0,
            "base_price": 17,
            "base_price_incl_tax": 17,
            "base_row_total": 17,
            "base_row_total_incl_tax": 17,
            "base_tax_amount": 0,
            "entity_id": 8,
            "discount_tax_compensation_amount": 0,
            "name": "Sprite Yoga Strap 8 foot",
            "parent_id": 3,
            "price": 17,
            "price_incl_tax": 17,
            "product_id": 34,
            "row_total": 17,
            "row_total_incl_tax": 17,
            "sku": "24-WG086",
            "tax_amount": 0,
            "order_item_id": 8,
            "qty": 1
        },
        {
            "base_discount_tax_compensation_amount": 0,
            "base_price": 19,
            "base_price_incl_tax": 19,
            "base_row_total": 19,
            "base_row_total_incl_tax": 19,
            "base_tax_amount": 0,
            "entity_id": 9,
            "discount_tax_compensation_amount": 0,
            "name": "Sprite Foam Roller",
            "parent_id": 3,
            "price": 19,
            "price_incl_tax": 19,
            "product_id": 22,
            "row_total": 19,
            "row_total_incl_tax": 19,
            "sku": "24-WG088",
            "tax_amount": 0,
            "order_item_id": 9,
            "qty": 1
        },
        {
            "base_discount_tax_compensation_amount": 0,
            "base_price": 52,
            "base_price_incl_tax": 52,
            "base_row_total": 52,
            "base_row_total_incl_tax": 52,
            "base_tax_amount": 0,
            "entity_id": 10,
            "discount_tax_compensation_amount": 0,
            "name": "Chaz Kangeroo Hoodie",
            "parent_id": 3,
            "price": 52,
            "price_incl_tax": 52,
            "product_id": 67,
            "row_total": 52,
            "row_total_incl_tax": 52,
            "sku": "MH01-S-Gray",
            "tax_amount": 0,
            "order_item_id": 10,
            "qty": 1
        },
        {
            "base_price": 0,
            "entity_id": 11,
            "name": "Chaz Kangeroo Hoodie-S-Gray",
            "parent_id": 3,
            "price": 0,
            "product_id": 56,
            "sku": "MH01-S-Gray",
            "order_item_id": 11,
            "qty": 1
        }
    ],
    "comments": []
}
Step 3: Verify this step
In this step, you need to log in to Admin. Then go to Sales > Invoices. In the grid, you will see the invoice is displayed. The status should be Paid.
Next, click Sales > Orders, the status will be Processing.
Automating Magento Invoices
Instead of manually generating invoices, you can automate the process using Magento’s built-in capabilities and cron jobs:
1. Enable automatic invoicing
Some payment gateways allow automatic invoice generation upon successful payment. Ensure your payment module settings allow this option, and check our guide on how to configure payment methods in Magento 2 for proper setup.
2. Use Webhooks for invoice triggers
Magento’s Webhooks can trigger invoice creation when an order reaches the “processing” status. This reduces manual intervention and streamlines order fulfillment.
3. Set up a Cron Job for invoice generation
For high-volume stores, automating invoices via Magento Cron Jobs is ideal. This can be done by scheduling an API request that generates invoices for orders marked as “processing.”
Not enough time?
If you want branded, professional invoices without technical configurations, consider using Mageplaza PDF Invoice.
FAQs
1. Can I create an invoice before payment is captured? No, Magento only allows invoice creation for paid or processed orders. If payment hasn’t been captured, you need to update the order status first.
2. How do I send an invoice email automatically after creating it?
After creating an invoice via API, use the following request to send an invoice email:
POST /rest/V1/invoices/{invoice_id}/emails
This sends an invoice email to the customer.
3. Can I modify an invoice after creation?
No, Magento does not allow invoice editing once they are generated. If there’s an issue, you need to cancel the order and create a new invoice.
4. How do I refund an invoiced order via API?
To issue a refund for an invoiced order, use the Credit Memo API:
POST /rest/V1/creditmemo
This will generate a refund for the invoiced items.
5. Can I bulk-generate invoices using the API?
Yes! You can loop through multiple order IDs in your API script and send invoice requests for each order programmatically.
Conclusion
Using the Magento 2 API to create invoices improves efficiency, automates order processing, and saves time. Whether you’re manually generating invoices or setting up automation, the API provides a flexible solution for seamless invoice management.
For advanced invoice customization, consider using Mageplaza PDF Invoice to create professional, branded invoices with ease!
Related posts:
x

Jacker is the Chief Technology Officer (CTO) at Mageplaza, bringing over 10 years of experience in Magento, Shopify, and other eCommerce platforms. With deep technical expertise, he has led numerous successful projects, optimizing and scaling online stores for global brands. Beyond his work in eCommerce development, he is passionate about running and swimming.
Related Post

1 min read
|
03-30-2026
Magento 2.4.9 Beta Release: What's New?
Magento 2.4.9 beta is here. Stay up to date with every release milestone with this regularly updated guide.
11 mins read
|
03-17-2026

Google Analytics Website Traffic: The A–Z Guide for Magento 2 Store Owners
Learn how to analyze website traffic in Google Analytics 4, identify high-quality traffic sources, and grow your Magento 2 store with data-driven insights.
18 mins read
|
03-17-2026

The Complete Guide to UTM Parameters & Google Analytics for Magento website
Master UTM parameters and Google Analytics for Magento. Track traffic sources, measure campaign performance, and practical tips to use it for better business decisions.
10 mins read
|
10-05-2025
How to implement Cookie Consent for GTM & Google Analytics in Magento Under GDPR?
Implement cookie consent for GTM & GA4 in Magento under GDPR. Step-by-step guide using Google Consent Mode v2 to avoid fines and maintain analytics.
15 mins read
|
02-27-2026
2 mins read
|
04-30-2026
1 min read
|
03-30-2026
Magento 2.4.9 Beta Release: What's New?
Magento 2.4.9 beta is here. Stay up to date with every release milestone with this regularly updated guide.
11 mins read
|
03-17-2026
Google Analytics Website Traffic: The A–Z Guide for Magento 2 Store Owners
Learn how to analyze website traffic in Google Analytics 4, identify high-quality traffic sources, and grow your Magento 2 store with data-driven insights.
18 mins read
|
03-17-2026
The Complete Guide to UTM Parameters & Google Analytics for Magento website
Master UTM parameters and Google Analytics for Magento. Track traffic sources, measure campaign performance, and practical tips to use it for better business decisions.
10 mins read
|
10-05-2025
How to implement Cookie Consent for GTM & Google Analytics in Magento Under GDPR?
Implement cookie consent for GTM & GA4 in Magento under GDPR. Step-by-step guide using Google Consent Mode v2 to avoid fines and maintain analytics.
15 mins read
|
02-27-2026